Installation guide
Installation and first use
The tuning blade disc is fitted in a few steps and no special tools are needed. Please still take a moment to read the safety notes.
Guide as PDFSafety notes
- Switch the mower off and secure it against being switched on before working on the underside.
- Wear protective gloves: the blades are sharp.
- Keep children and pets away during installation and the test run.
- Never reach under the mower while it is switched on.
- Do not continue to use damaged discs or blades.
What you need
- Screwdriver or bit matching the screws of your mower
- Phillips screwdriver for the M4 blade screws
- Protective gloves and a soft surface
1Prepare the mower
Switch the mower off and secure it against being switched on. Carefully place it upside down on a soft surface so the housing does not get scratched.
2Remove the original disc
Undo the screws of the original disc and remove it. Keep the screws, they are used to fix the tuning disc. Also keep the original disc, for example for a repair by the manufacturer.
3Check the blade guard
On many models the original blade guard (blade cover) is in the way of the larger disc. The blade guard is a safety device of your mower: it reduces the risk of coming into contact with the rotating blades.
Important: removing it is a modification of your mower that you decide on and are responsible for yourself. It may limit the mower manufacturer's warranty. If you remove the blade guard:
- Only operate the mower when no people, especially no children, and no animals are on the lawn.
- Use your mower's PIN and child lock, and schedule mowing for times when nobody is in the garden.
- Do not modify or bypass any of the mower's safety functions (lift, tilt and obstacle sensors, blade stop).
- Never reach under the mower while it is switched on, and only lift it when it is switched off.
Keep the blade guard. You can refit it together with the original disc at any time.
4Mount the disc with its mount
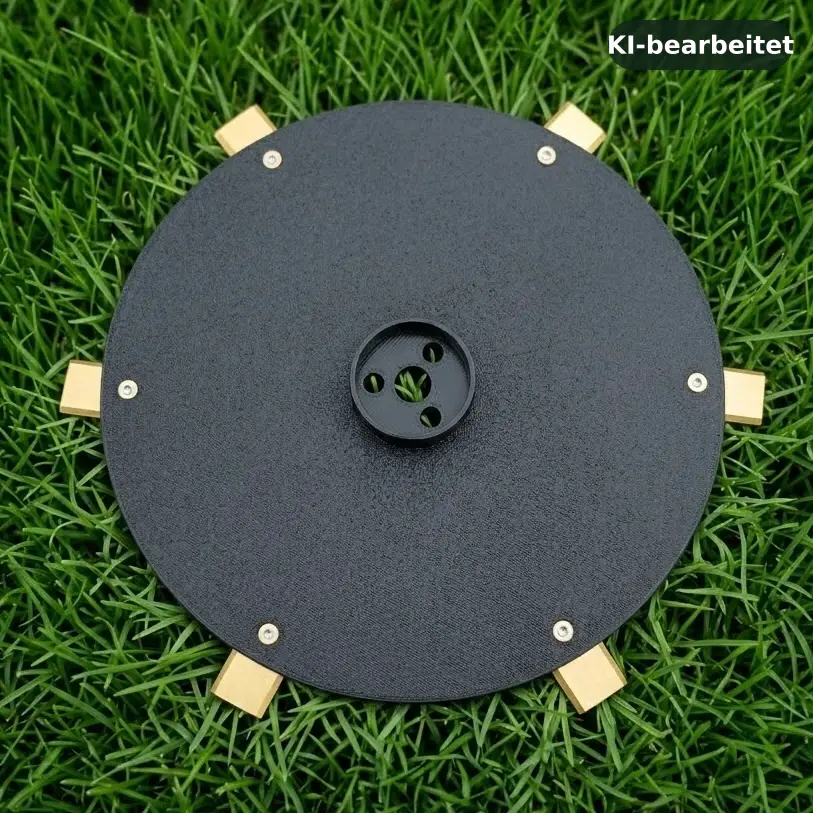
Place the disc with its mount on the motor mount so that the holes line up. Fix it with your mower's standard fixing, on the round mount with the 3 original screws. Tighten the screws evenly and hand-tight.
5Fit the blades
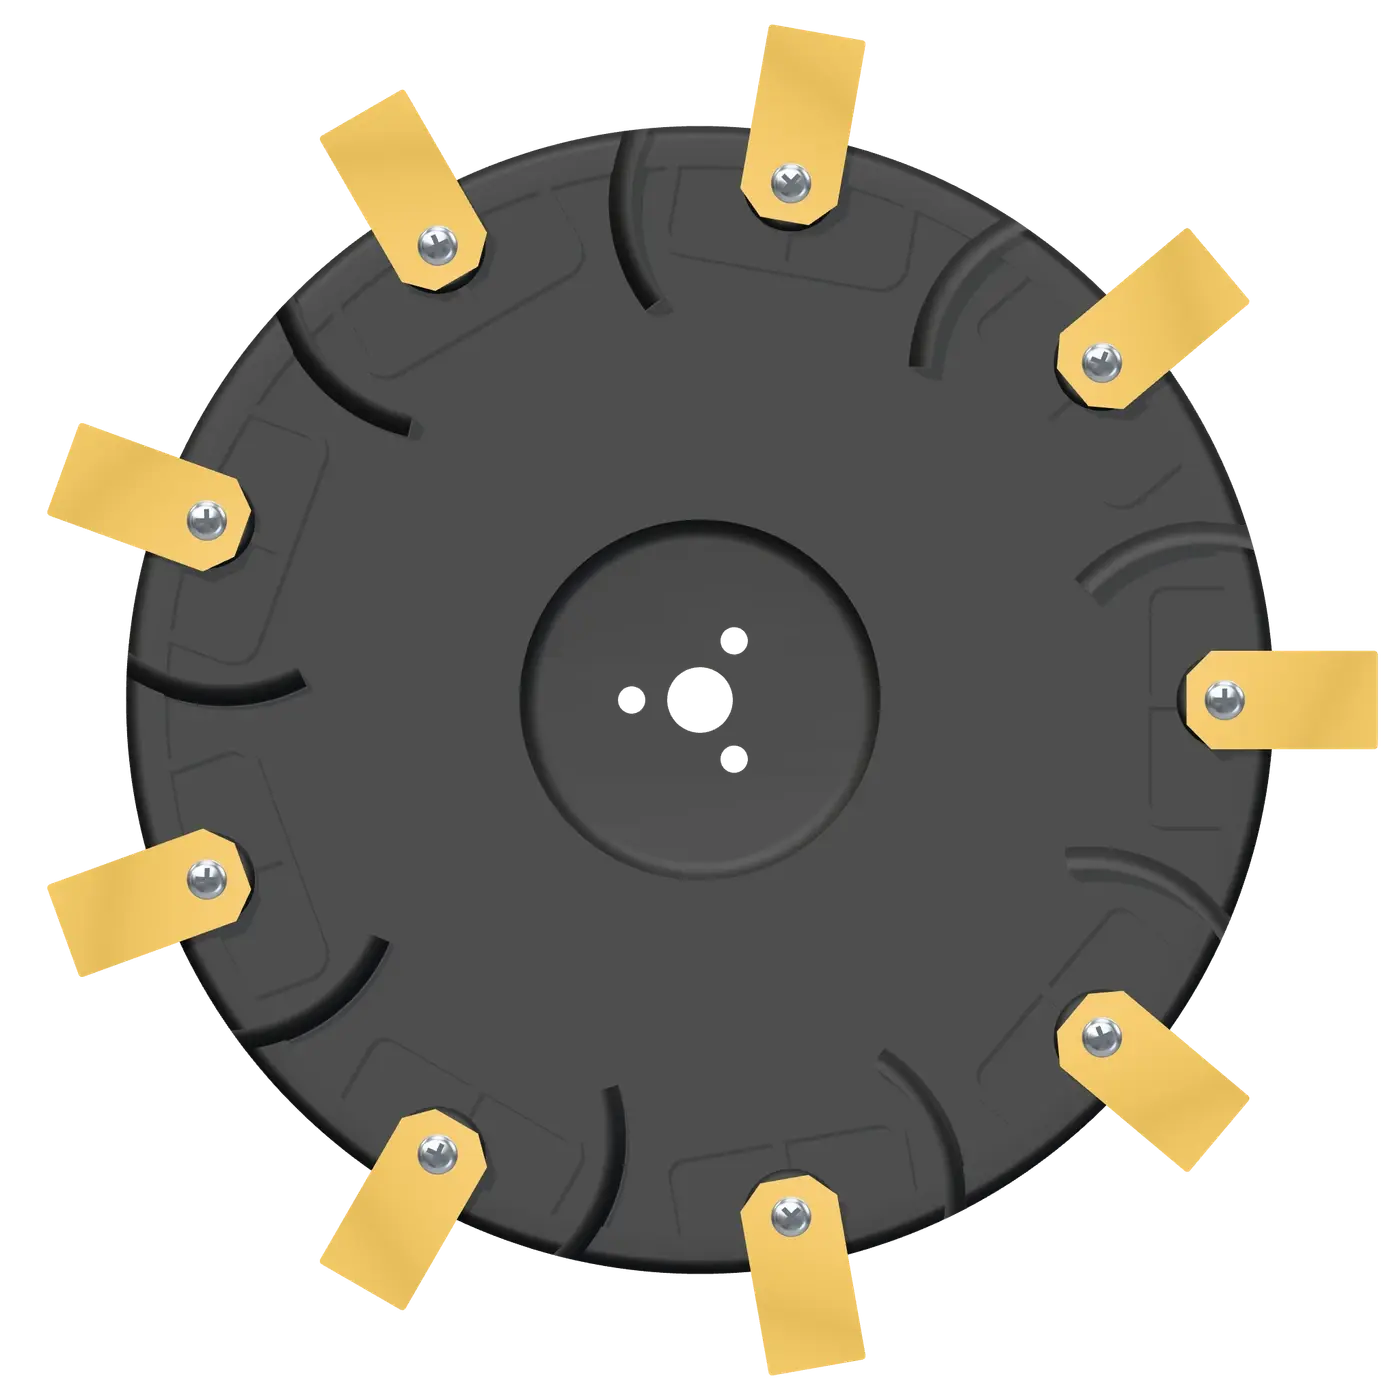
If you ordered the disc with pre-mounted blades, skip this step. Otherwise screw each blade with one of the included M4 screws into one of the brass threaded inserts already fitted in the disc. Use all blade positions so the disc stays balanced.
6Check clearance
Turn the disc by hand. It must not rub anywhere at your cutting height. On some models the splash guard may need adjusting or the cutting height raising slightly.
7Test run
Put the mower back on its wheels, remove the safety lock and watch a short test run. Unusual noises or strong vibrations point to a loose screw or a rubbing disc. Switch off immediately and check.
Changing blades and maintenance
- Change the blades roughly every 6 to 8 weeks during the mowing season, sooner with gravel, stones or sand in the lawn, and at the latest when grass tips look frayed.
- Always replace all blades and screws at the same time so the disc runs evenly.
- Regularly brush grass clippings off the disc and the underside of the mower.
- Check the screws for tightness from time to time.